Deployment of a Node.js project on AWS
Last week my classmate and I finished our final group project for Lighthouse Labs. It's a cool project using Node.js, Mongodb, and Express. We've been calling it the "MEN" stack since we're not using Angular.js. The app displays government mining claim data on a Mapbox API check it out at MappingClaims.com. It's not finished yet, we're improving performance on large queries and adding features.
We decided to deploy the app on Amazon Web Services and learned the process as we went. We found out quickly that we were getting into a bit of an adventure.
After committing to our MVP and ensuring that it is set up with a git repository the first step was to purchase an EC2 instance. I already had an Amazon account so signup was pretty quick. I had to re-enter some account details and my credit card. After that I was all set to log in to the AWS console.
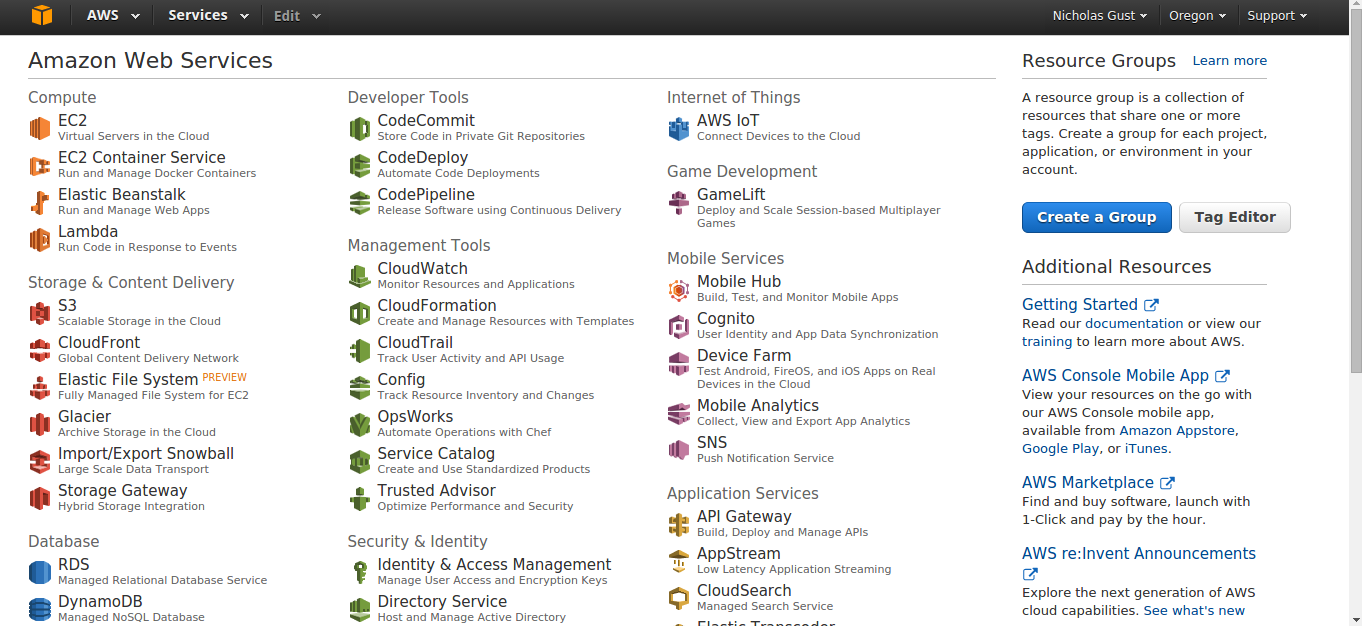
The console is a bit overwhelming. There are also a lot of different opinions on what is the right way to do this. We chose the cheapest path, as opposed to the easiest. The first thing to do is set up an EC2 instance. EC2 stands for Amazon Elastic Compute Cloud, which is a scalable server instance, there is a lot of AWS jargon.
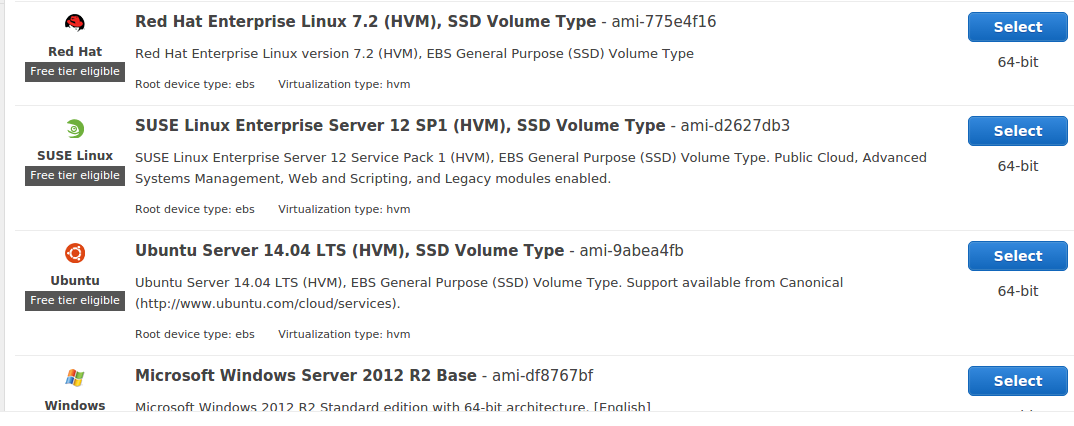
To get started click on the EC2 link at the top left of the console. The next screen is just as confusing. Just click on the big blue button that says "Launch Instance". Next you get to pick your operating system. We chose Ubuntu Server 14.04 LTS (HVM). Mostly because I am most familiar with Ubuntu, although I'd like to learn what Amazon linux is all about. The HVM means Hardware Virtual Machine, find out more here.
Next you get to pick your hardware specs. We chose the T2.Micro because its free for the first year. That gets you 1GB memory and 8GB storage. Not exactly a powerhouse but good enough to get started. Again look for the big blue button, this time it says "Review and Launch". You can check out the specs, then hit the Launch button.

AWS will take bit to spin up the instance. It takes about 10 minutes. Once it's ready you'll see a green circle indicating that it's running and a check mark in the "Status Check" column.
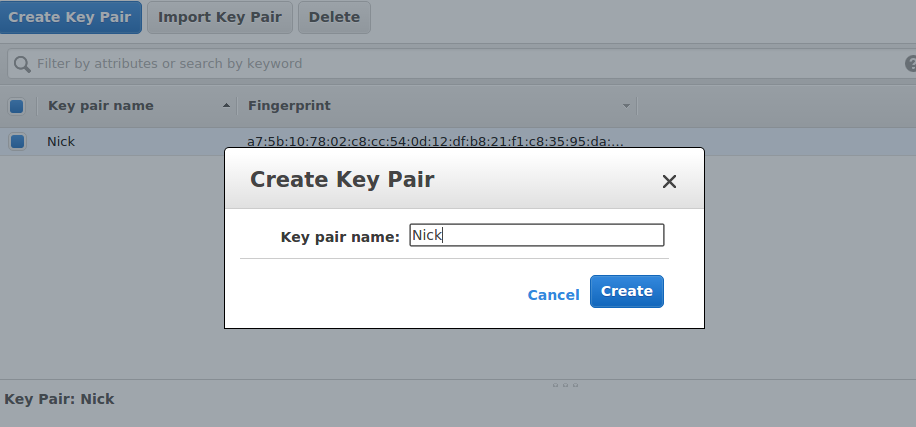
While the EC2 instance is starting we can set up the SSH key. That will be needed to connect to the server vis SSH. Scroll down the options on the left side to the Network & Security section. Click on "Key Pairs". Next click on the blue button that says "Create Key Pair". You will be prompted to give it a name, I called mine "Nick". Once you click Create, a key is created and in my case the Nick.pem file was automatically downloaded to my computer.
OK great, things are getting rolling. I'm using Ubuntu as my dev machine too so I can use the .pem file natively with SSH. All we need now is the machine's IP address to connect. To get that go back to the instances section using the left menu. Hopefully it has finished booting up by now. Click on the instance row and the IP will be displayed in the window below.
Now on the dev machine open up a linux terminal. To get rolling quickly we can just use the .pem file in the SSH command. It has to be in the same directory for this to work.
The following ssh command will allow us to connect:
ssh -i "Nick.pem" [email protected]
There is no password for the ubuntu user on initial connect. You'll have to accept the SSH key and then you should have a terminal like this:
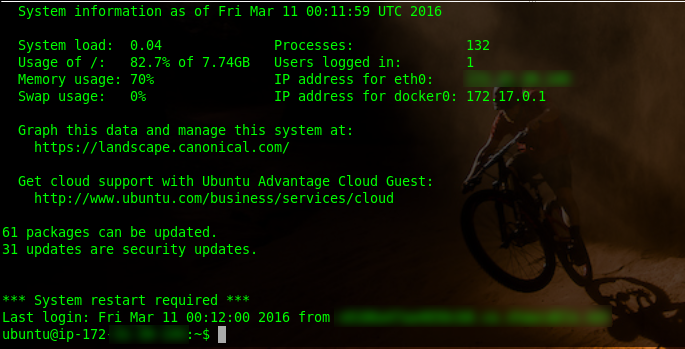
From here we can do anything we want with the EC2 server.
In the next post I'll show you how we set up Dokku, the domain, mongodb and and deployed the app! Stay tuned.